| |
Below are the steps taken to replace two 40 watt fluorescent bulbs with higher-output LED bulbs that will provide
75% in energy savings. Although the savings for this one fixture will be only about $7.00 (not used very long at any
one time) the first year, which is about what the bulbs and other hardware costs, once the rising cost of the electric
in future years is figured in, the savings after the first year will be quite significant. Since my downstairs office
alone has six of these fixtures, plus the two in this downstairs kitchen area, many more in my woodshop (8 fixtures,
each with 2x75watt bulbs or currently 1200 watts total), and other places in the house - many halogen bulbs in ceiling
of upstairs kitchen for example, the savings could be VERY significant.
But it's not JUST about the savings. It's also about the "doing." Doing things like this is good for the mind, body
and spirit, as it requires thought processes, a lot of movement up and down a ladder and about, as well as a sense
of satisfaction upon the completion of such a project.
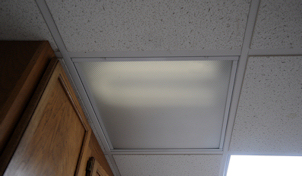
beginning - one bulb out, one dim
zoom
|
|
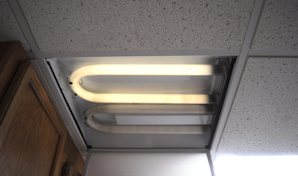
shown with cover off
zoom
|
|
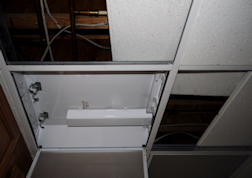
bulbs and ceiling panels removed
zoom
|
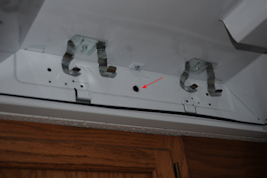
hole drilled for new bulb socket
zoom
|
|
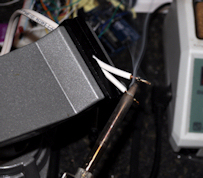
new "zip cord" being tinned
zoom
|
|
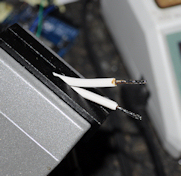
tinned
zoom
|
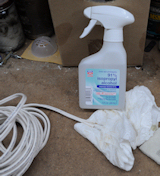
flux cleaned from soldered wire ends with alcohol
zoom
|
|
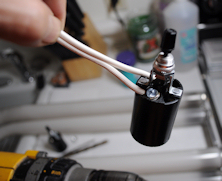
attaching wires to new socket - ribbed wire to silver screw
zoom
|
|
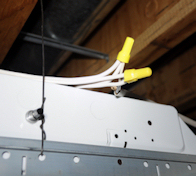
new wires connect to existing wires
zoom
|
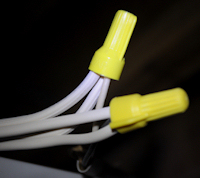
note ribbed zip cord wire attached to house white (common) wire
zoom
|
|
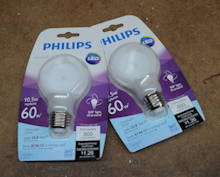
the new bulbs are 60 watts but use only 10 watts
zoom
|
|
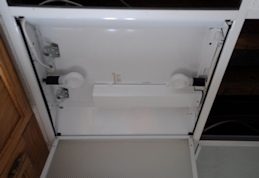
showing the two new sockets and bulbs installed
zoom
|
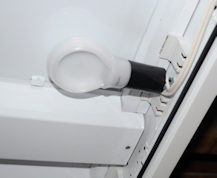
socket/bulb closeup
zoom
|
|
yah! - they work!

zoom
|
|
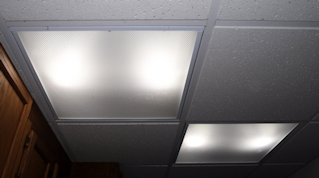
completed - much better
zoom
|
|
|


